Your car draws outside air through a paper panel roughly the size of a hardcover book, and everything the road throws at that panel settles there before it reaches your face. Almost nobody looks. The drivers who do look tend to buy the right replacement, slide it in, close the glove box, and then hear the same tired airflow they set out to fix.
The filter is rarely the culprit. Backward orientation, a frame that never dropped flat into its channel, and a cover tab that never clicked account for most of it. Knowing how to change cabin air filter correctly comes down to getting those small installation details right. Airflow direction gets printed right on the filter frame, and the moment you pull the old panel and set it on the passenger seat, that reference disappears.
On most vehicles this takes fifteen minutes and no tools, which is exactly why it deserves doing carefully rather than quickly.
TL;DR Quick Answers
How to Change a Cabin Air Filter
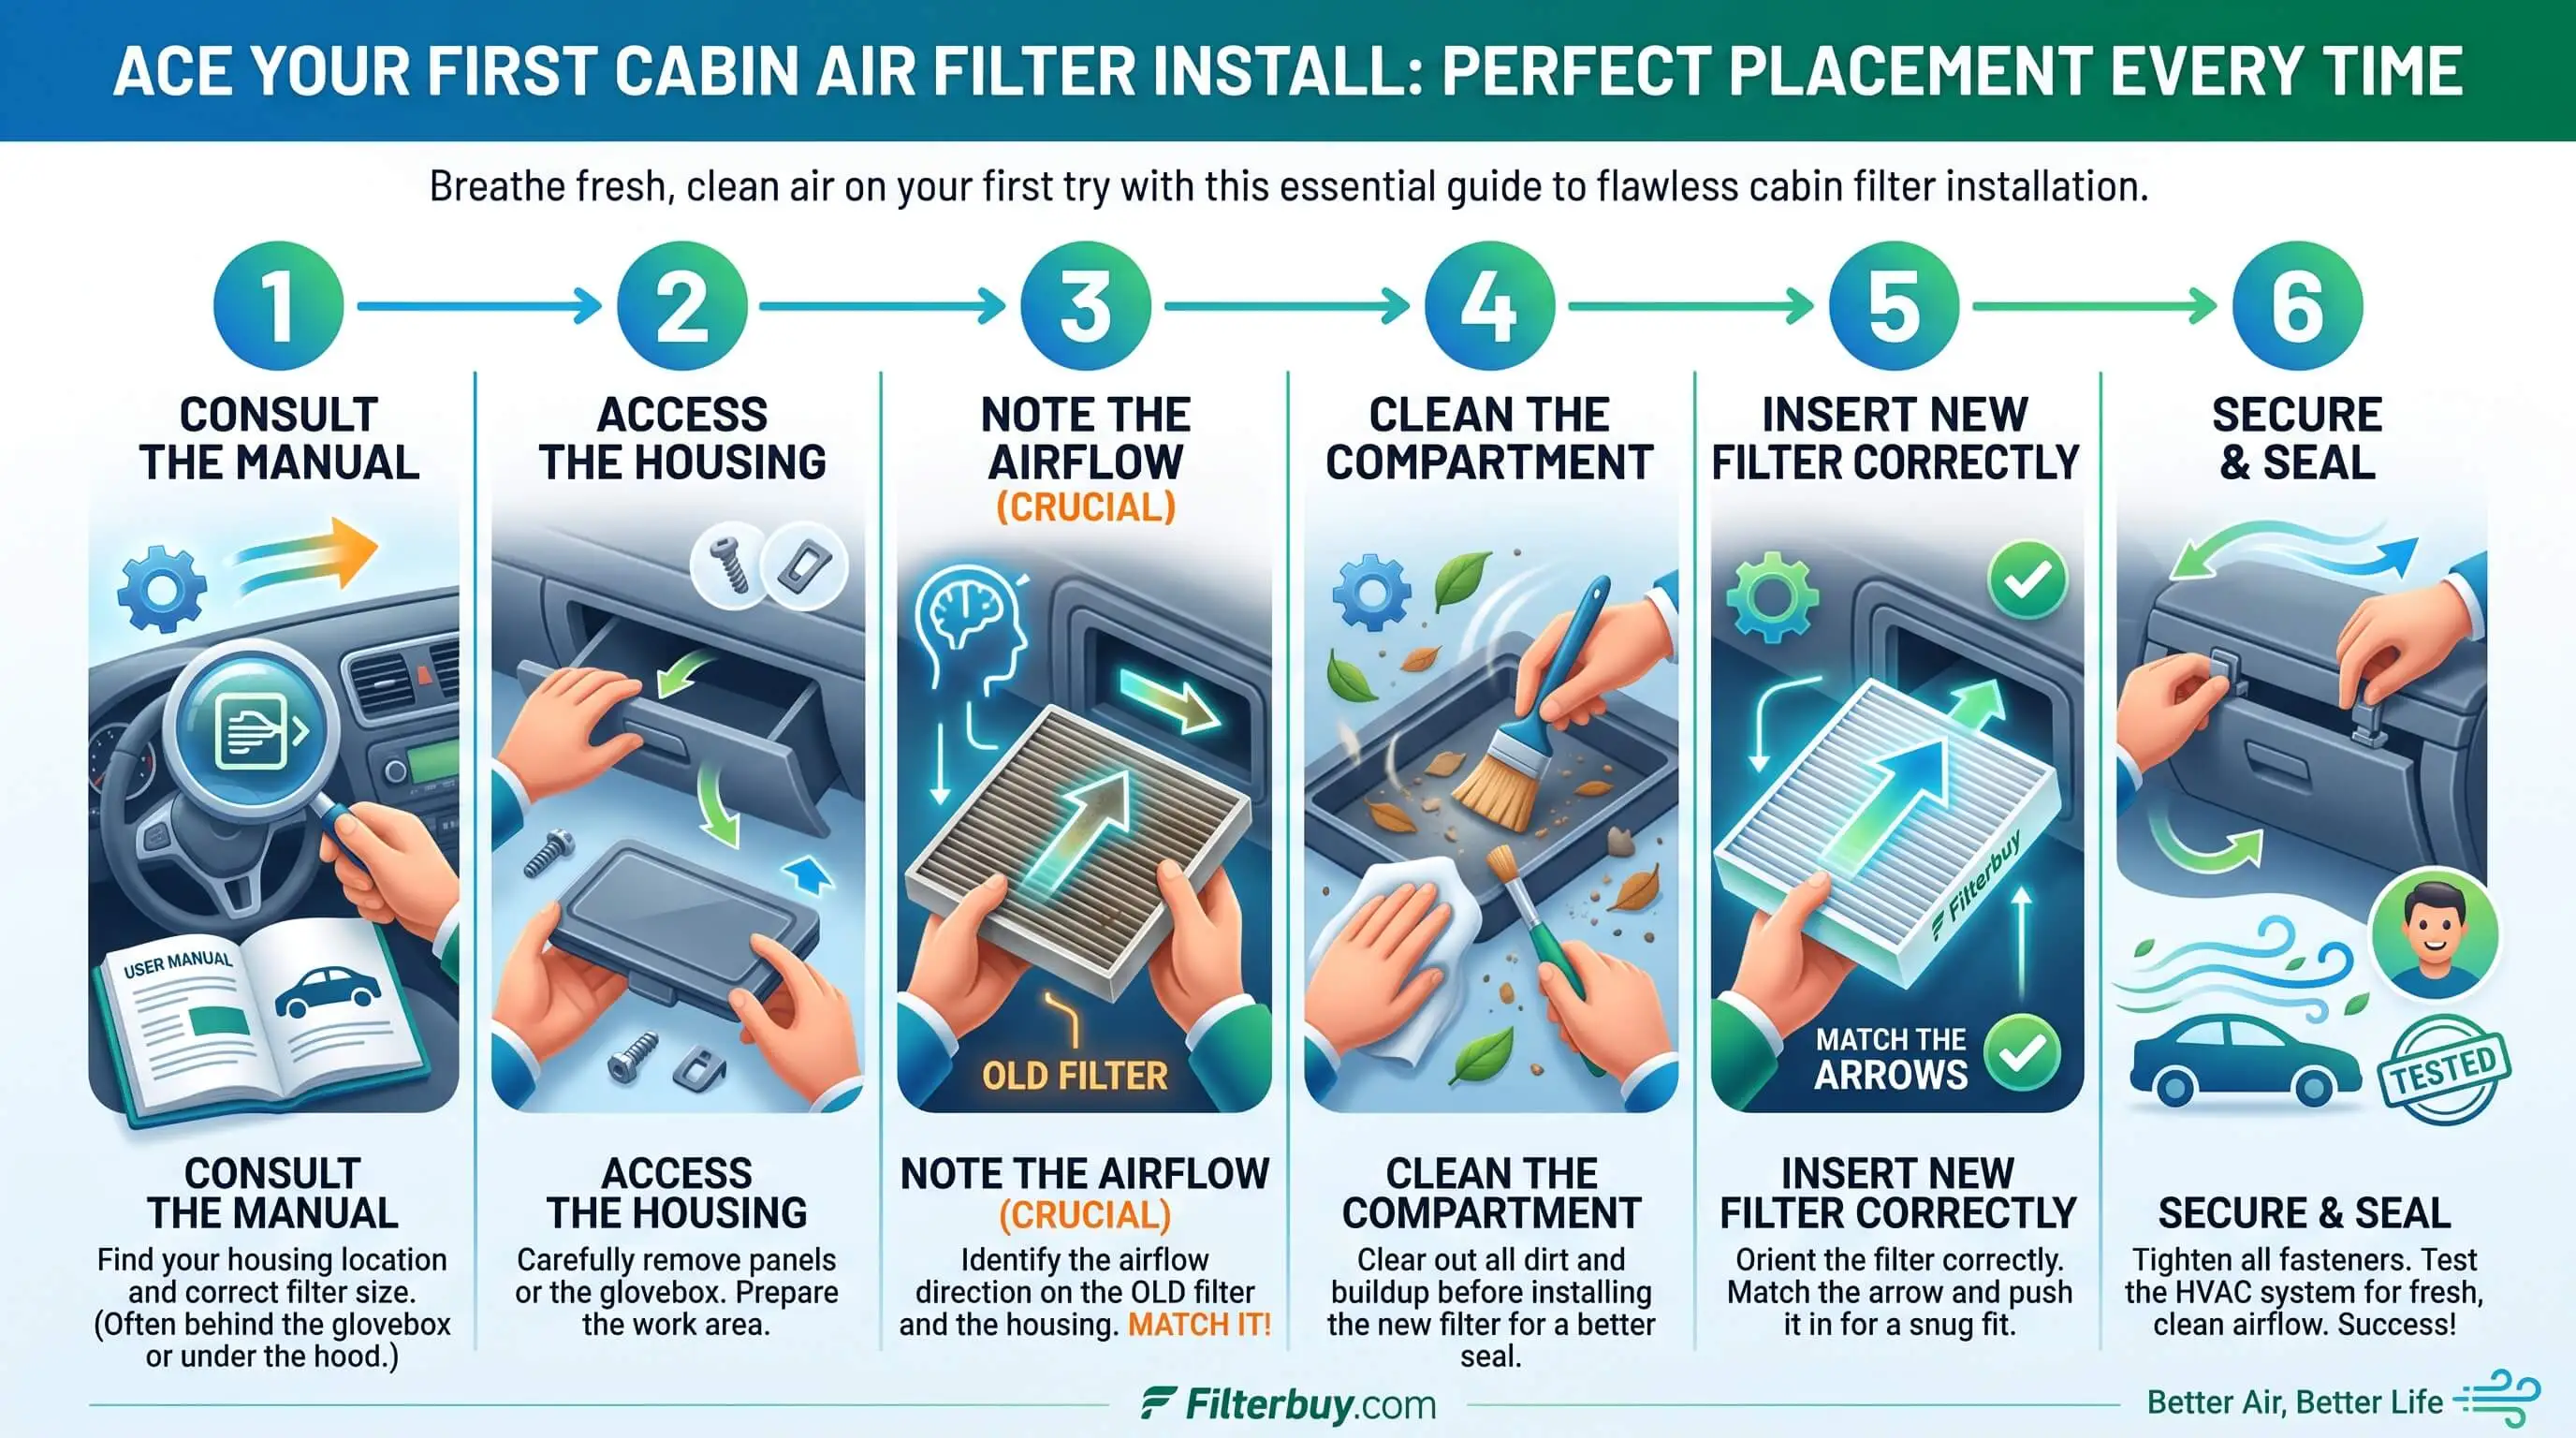
Changing a cabin air filter takes about fifteen minutes and no tools. On most vehicles built since the mid 1990s, the filter sits behind the glove box.
Photograph the airflow arrow on the old filter before you remove it. This is the step almost everyone skips.
Slide the old filter out level so trapped debris does not drop into the blower housing.
Vacuum the housing and wipe the sealing lip where the cover lands.
Insert the new filter with its arrow pointing the same direction, usually down toward the blower motor.
Close the cover until every tab clicks. One silent tab means a pleat is caught.
Run the blower on fresh air through all speeds. Airflow should be stronger and steadier than before.
Most guides stop at the part number. A correctly sized filter installed backward, or seated on a lip still covered in grit, moves less air than the dirty one you just pulled out. The arrow and the seal decide the outcome.
Top Takeaways
Read the airflow arrow on the old panel before you remove it, and photograph the orientation if you have any doubt.
Check the part number against the old frame rather than trusting a catalog lookup on its own.
Vacuum and wipe the housing while it is open, paying particular attention to the sealing lip where the cover lands.
Every tab on the cover should click. One silent tab means a pleat is caught or the panel never seated.
Verify with the fan of fresh air across all speeds before you consider yourself finished.
Inspect annually against a light source instead of waiting for a mileage number to roll around.
A musty smell that survives the replacement points at the evaporator or the housing, not the new filter.
Find the Filter and Check the Size Before You Open Anything
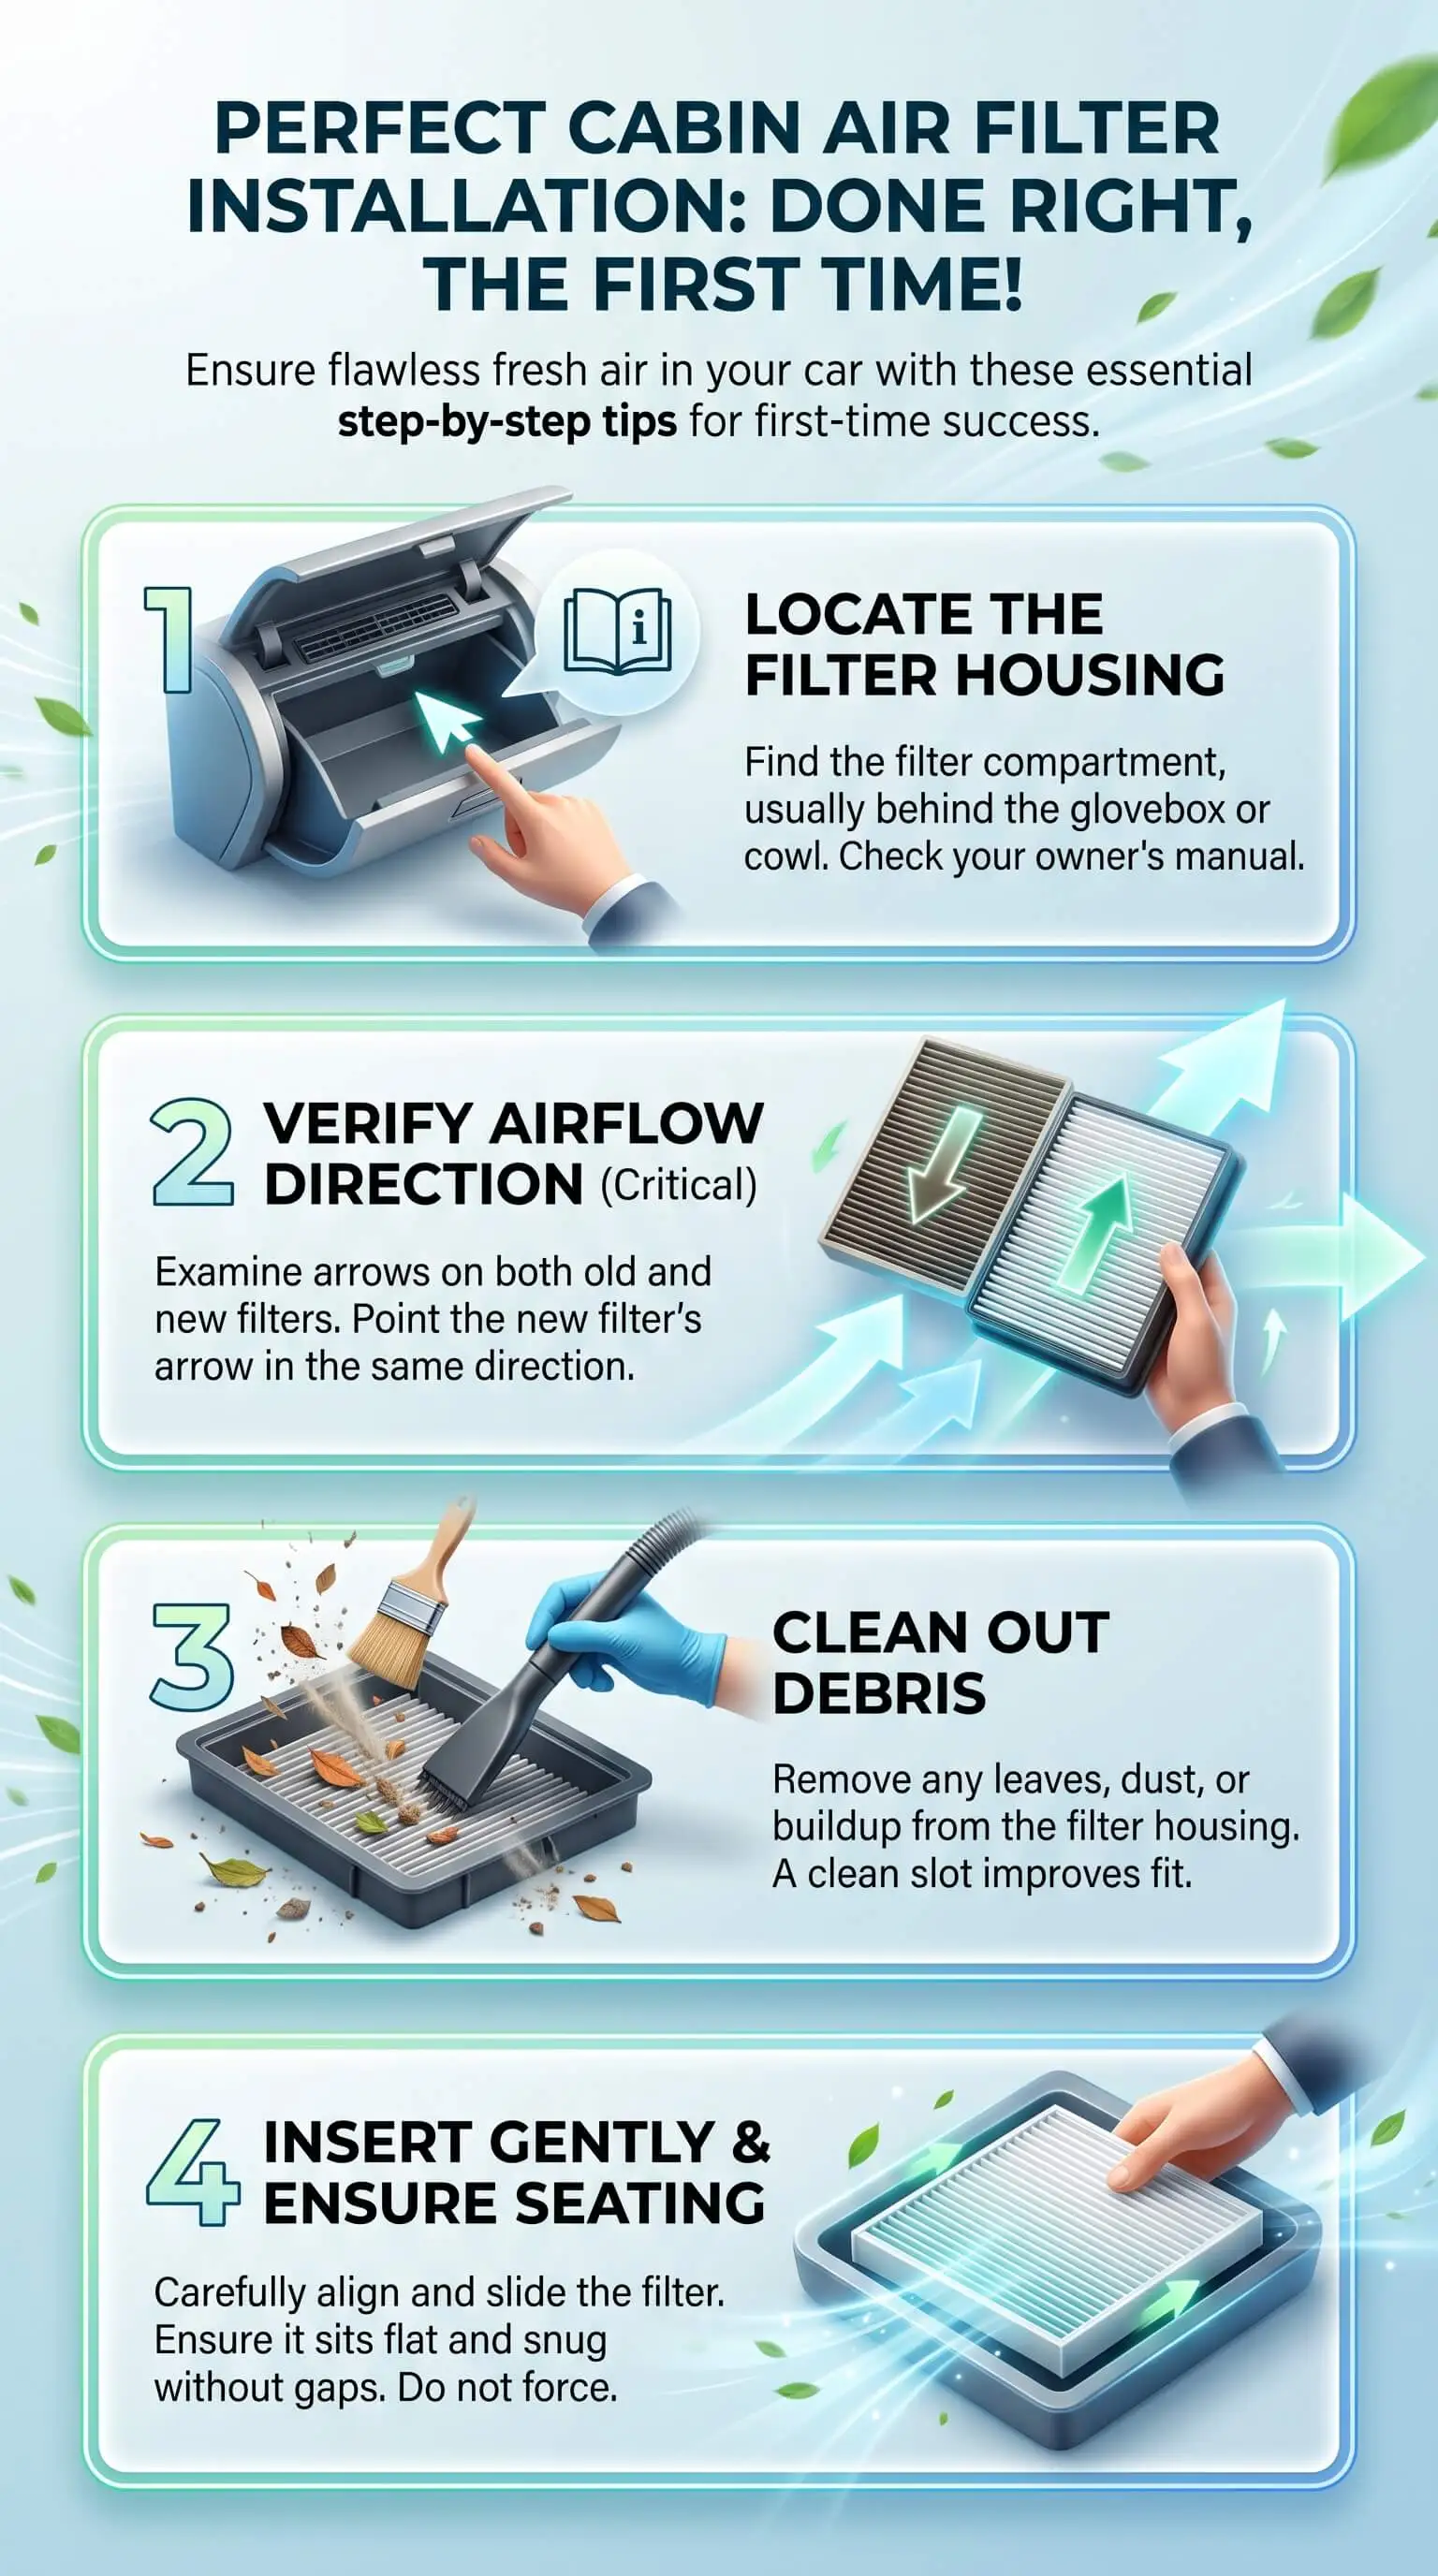
Most vehicles built since the mid 1990s hide the cabin filter behind the glove box. Some tuck it under the dash on the passenger side. A smaller group puts it under the hood, down in the cowl at the base of the windshield, and a handful of luxury models run two panels instead of one. Your owner manual names the spot and gives the factory interval, which usually lands somewhere between 15,000 and 30,000 miles.
Check the part number before anything comes apart. Cabin filters match the housing rather than any universal standard, so a panel running a quarter inch short lets unfiltered air slide around the frame every time the blower kicks on. Hold the new filter against the old one once you have it out. Frame dimensions and pleat depth should line up.
Read the Airflow Arrow While the Old Filter Is Still In
This one step decides more than the rest of the job combined. Nearly every cabin filter carries an arrow along the frame edge marking which direction air should travel through it. On most vehicles that arrow points down toward the blower motor, because the system pulls air in at the cowl and pushes it through the media before the fan ever touches it.
Look at the arrow before you touch anything. Note where it points relative to the dash. Photograph it if you want a reference you cannot misplace. A backward panel still fits and the cover still closes, so nothing about the install will warn you, and meanwhile it restricts more air than it should while catching less of what you wanted caught.
If the arrow on the old panel has worn away, look at the housing itself. Most carry a molded or stamped arrow on the cover or along a frame rail.
Clean the Housing While It Is Open
Slide the old panel out slowly and keep it level. Two years of service packs a filter with loose debris, and tipping it dumps leaves and grit into your footwell or down into the blower housing, which is a considerably worse afternoon.
Now look into the cavity. On almost any vehicle that parks outdoors you will find leaves, seed pods, insect shells, and a layer of fine road dust settled at the bottom. Vacuum what you can reach with a crevice tool, then wipe the sealing surface with a barely damp microfiber cloth. Grit left on that sealing lip causes more failed cover closures than anything else I run into.
Standing water or visible mold in the housing means something upstream has already failed, usually a drain or a seal. Get that diagnosed before you drop clean media into a wet box.
Seat the Filter and Make Sure Every Tab Clicks
Line the arrow up with the direction you noted, then slide the new panel in with the pleats running the way the old ones did. Light, steady pressure should carry it home. If you find yourself pushing hard, stop and look. The panel has either rotated ninety degrees or caught a corner on a guide rail.
Press along the frame edges once it is in. You want that panel fully dropped into its channel and sitting flat. A filter standing proud on one edge leaves a gap, and air will take the gap on every fan cycle for the next two years.
Close the cover and listen. Most housings use two to four plastic tabs, and every one of them should click. When one side engages and the other stays quiet, open it back up and hunt for a folded pleat under the lip or grit on the seal, just as proper seating matters for an air purifier filter. Never force a cover that refuses to seat. Those tabs snap, and a cracked housing turns a fifteen dollar job into a dealer parts order.
Prove the Install Worked Before You Walk Away
Reattach the glove box damper and hinges, then run a real check instead of assuming the job took.
Start the engine. Set the climate control to fresh air rather than recirculate, and run the blower through every speed. Air should come through noticeably stronger than before at the same setting, and it should feel steady rather than fluttering. A whistle or a rush at high fans usually means air has found a way around the media instead of through it.
Let it run a few minutes and pay attention to what you smell. Faint new-filter odor for a day or two is normal and fades on its own. A musty smell that sticks around points at the evaporator or the housing, and no amount of fresh media will touch that.
Write the date and the mileage somewhere you will actually find them again. If your housing turns out to be one of the awkward ones, this step-by-step at-home replacement walkthrough covers vehicle-specific access with photographs. For the background on what the media is doing at the particle level, start with a general overview of air filtration.
"People treat this like a parts swap when it is really a fit job. Sourcing the right panel is the easy half. What actually decides whether the install works is whether the housing was clean, whether the frame dropped flat into its channel, and whether every tab on that cover engaged. I once pulled a three-week-old filter out of a car where the owner had done everything right except notice a folded pleat caught under the cover lip. That one fold was routing unfiltered air straight past the media he had just paid for. Check the seal. The part number takes care of itself."
7 Essential Resources
I checked every link below on August 20, 2026. None of them sell you anything the moment you land.
AAA Automotive, Changing the Cabin Air Filter in Your Car. Media types, the full contaminant list, and the signals that tell you replacement is due.
Car Care Council, Car Care Guide. Nonprofit maintenance reference that puts cabin filter intervals alongside the rest of the service schedule.
California Air Resources Board, Car and Bus Exposure Studies. State research on how pollutant concentrations behave inside a moving vehicle.
iFixit, How to Replace Your Cabin Filter. Photograph-by-photograph teardown of the glove box access route.
CarCareKiosk, Cabin Air Filter Replacement. Video guides indexed by year, make, and model for the housings that hide well.
CARFAX, Why You Need to Replace Your Car Cabin Air Filter. What happens inside the HVAC system when the panel gets ignored for years.
Allstate, Car Cabin Air Filter: How to Check and Replace One. Plain-language inspection guide written for people who have never opened a housing.
Using high quality filters and following trusted replacement guidance can help keep your vehicle’s cabin airflow cleaner while reducing the dust, debris, and pollutants that build up inside the HVAC system.
3 Statistics
Researchers ran 48 adults through commutes with and without cabin air filtration and measured the difference. Filtration cut ultrafine particles by 28 percent, fine particulate matter by 30 percent, and black carbon by 32 percent inside the vehicle. National Institutes of Health, PubMed Central.
More than 45 million people in the United States live within 300 feet of a major road or transportation facility. That puts an enormous share of everyday driving in the exact corridors where traffic pollutant concentrations run highest. United States Environmental Protection Agency.
More than 100 million people in the United States deal with allergies every year, and roughly a quarter of adults carry a diagnosed seasonal allergy. Asthma and Allergy Foundation of America.
Research shows that cabin air filtration can reduce traffic-related particles inside a vehicle, making routine filter care important for commuters and allergy sufferers, while an HVAC system tune up can help maintain proper airflow and filtration performance in the home.
Final Thoughts and Opinion
My honest position, after doing this on more vehicles than I care to count: the published replacement interval is the least useful number in the whole conversation. Manufacturers print 15,000 to 30,000 miles because they have to print something. That range quietly assumes a driver who never parks under trees, never sits in construction traffic, and lives somewhere without a real pollen season. I have met almost nobody who fits that description.
Inspect rather than schedule. Pull the panel once a year and hold it up against a light. If nothing comes through the pleats, it is finished, and the odometer does not get a vote. If light still passes and the frame looks clean, put it back and check again next spring. That one habit will serve you better than a mileage figure calculated for a national average you probably do not match.
I will also push back on the idea that spending more automatically buys you more. A premium carbon panel installed backward in a housing full of leaves loses to a basic pleated filter that seated flat in a clean channel. Fit and cleanliness beat specification on this job, every single time. Buy the better filter if you want the odor control. Just do not let the purchase stand in for the ten seconds of attention that make it work.
How do I know which way the airflow arrow should point?
Match whatever the old panel was doing, assuming somebody installed it correctly. On most vehicles the arrow points down toward the blower motor. When the old arrow has worn off, check the housing cover or the frame rail for a molded arrow, and look up a vehicle-specific guide rather than installing on a guess.
How often should I change a cabin air filter?
Factory intervals generally land between 15,000 and 30,000 miles, though conditions matter far more than the number. Dusty roads, heavy pollen, wildfire smoke, and parking under trees all shorten the useful life considerably. Annual inspection gives you a better answer than any interval printed in a manual.
Can I clean and reuse a cabin air filter instead of replacing it?
No. Cabin filters trap particles throughout the depth of the media, so vacuuming or washing lifts only surface debris while wrecking the fiber structure and any electrostatic charge the panel carries. Replacement is the only route that works.
What happens if I install the cabin air filter backward?
It fits, and the cover usually closes without complaint. Performance suffers because the pleat geometry and any layered media were engineered for one direction of flow. You end up with higher restriction and lower capture, which reverses the outcome you paid for.
Does a clogged cabin air filter affect anything besides air quality?
Yes. A restricted panel forces the blower motor to work against higher static pressure, which shortens its service life. Reduced airflow also weakens both heating and cooling and slows windshield defogging, and that last one is a visibility problem rather than a comfort complaint.
My vehicle has two cabin air filters. Do both need replacing at once?
Replace them together. Dual-filter systems split airflow across both panels, so pairing fresh media with a clogged panel leaves the restriction in place and throws the balance off between the two paths.
Before Your Next Drive
Go open the glove box tonight and find out how long that panel has actually been in there. Most people cannot answer the question, which is usually the answer. Pull it, hold it against a light, and order the replacement while you are still crouched there thinking about it.
Then write the date on the new frame in permanent marker before it goes in, just as you might date MERV 8 pleated HVAC furnace air filters to track when they were installed. Next year, when you are down in the same footwell wondering, the filter will answer for you.